
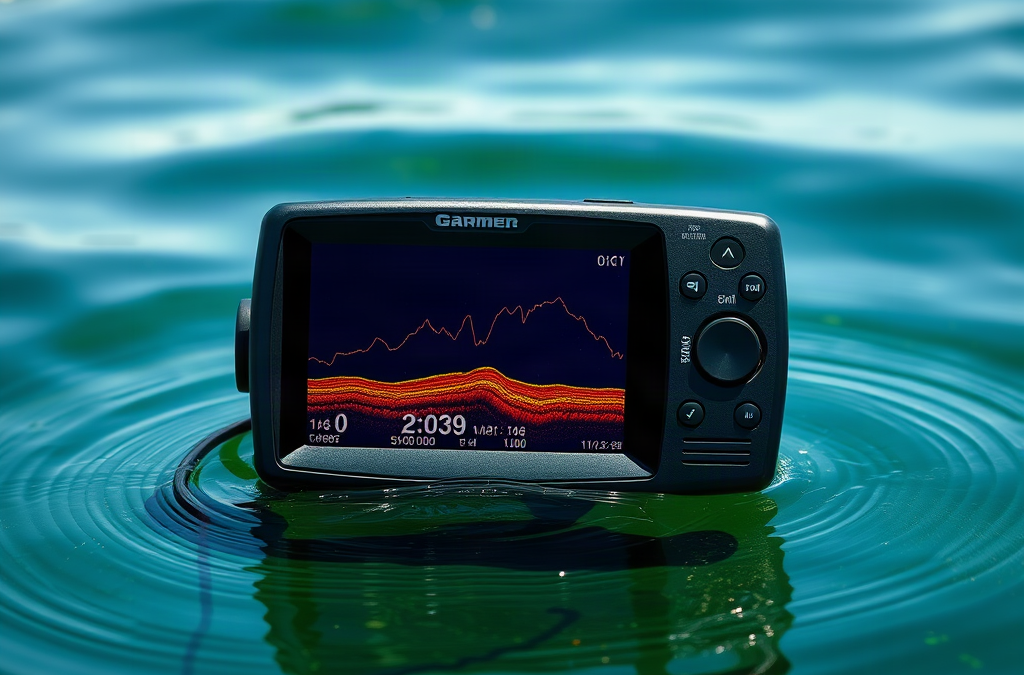
Use a depth finder to locate fish by adjusting the sonar display for the water depth, identifying bottom structure and suspended marks, and then confirming those signals with boat position and lure presentation. Begin by setting the range to show the bottom clearly, reduce clutter until arches and bait clouds are distinguishable, and mark changes such as drop-offs, ledges, brush, or submerged points. Fish symbols are only suggestions, so interpret them alongside depth, cover, temperature, and bait activity rather than treating every icon as a confirmed catch. Idle across promising areas in multiple directions, save productive waypoints, and return with a presentation suited to the depth where the strongest returns appear.
Read the Sonar Display Before Searching for Fish
A depth finder is most useful when it is treated as a record of what passes beneath the transducer, not as a camera that reveals every fish in real time. Traditional sonar sends sound downward and displays returning echoes according to depth and strength. The bottom appears as a continuous line, while vegetation, bait, hard cover, and individual fish create changes above it. Learning that relationship makes the screen far more useful than relying on a fish-shaped icon.

Start by finding the bottom contour. A flat bottom offers less information than a sharp change from 12 feet to 20 feet, a submerged point, a channel edge, or a shelf beside deeper water. Hard bottoms usually produce a stronger, more defined return; soft mud or silt may look wider and less distinct. A second line beneath the main bottom return, sometimes called a double echo, can indicate a hard surface rather than a second layer of fish.
Fish may appear as arches because the boat moves over the fish and the distance between the transducer and fish changes. A partial arch, short streak, or compact mark can still represent a fish, especially when the boat is moving slowly or the target is near the edge of the sonar cone. A long horizontal band is more likely to be vegetation, suspended debris, or bait than a single large fish. Use how to use depth finders to locate fish as a continuing reference while comparing the display with the actual location and conditions.
Interpretation improves when several clues agree. A few marks directly above a break may be more promising than a large isolated icon over featureless bottom. Bait clouds, a depth change, and nearby cover create a stronger location hypothesis than any one symbol alone. The limitation is coverage: a narrow sonar cone may miss fish beside the boat, while a wide cone can make exact positioning less certain.
Tune Depth Finder Settings for Clearer Returns
Correct settings make weak targets visible without turning the display into a mass of noise. Set the depth range so the bottom occupies a useful portion of the screen. Automatic range works well while traveling between locations, but manual range is often better once you begin examining a specific area because the unit stops constantly rescaling the image.
Adjust sensitivity until the bottom is solid and natural targets begin to appear, then reduce it if the screen fills with random specks. Excessive sensitivity can make plankton, turbulence, electrical interference, and surface clutter look like fish. Too little sensitivity removes smaller returns and may hide bait or suspended fish. The best setting changes with depth, water clarity, bottom composition, transducer speed, and frequency, so a setting that works in 8 feet may be poor in 35 feet.
Fish ID symbols are convenient for beginners but should not be the primary evidence. The unit must interpret echo strength and shape, and that interpretation can confuse weeds, timber, bubbles, or bait with fish. Begin with the raw sonar view, then compare it with the symbol view if your unit provides both. A split screen showing traditional sonar beside DownScan or another high-detail view can help distinguish a fish beside a branch from a fish-shaped return created by cover.
Frequency selection involves a useful tradeoff. Higher frequencies generally provide more detail in shallower water but lose energy sooner, while lower frequencies can reach deeper water and cover a broader area with less fine separation. CHIRP systems sweep through a range of frequencies and may separate targets more clearly, but they still cannot correct a loose transducer mount or a turbulent installation.
Before trusting a screen, check the practical basics: the transducer should remain submerged, the face should be clean, the mounting angle should be appropriate, and the display should be readable in the available light. A screen full of diagonal streaks while running on plane may reflect turbulence rather than fish. Slow down over promising areas and compare the image at different speeds; consistent returns are more credible than isolated clutter.
Separate Fish Marks From Structure and Interference
Fish location becomes more predictable when the display is read as habitat plus activity. Fish often relate to edges, cover, depth changes, current seams, or bait, but a depth finder does not prove why a fish is present. It shows an acoustic return that must be interpreted in context. A single arch over empty bottom may be worth a cast, yet a smaller mark beside a brush pile or along a contour can offer a better target.
Look for repeatable patterns as the boat crosses an area. Suppose a mark appears on the right side of the screen while traveling north, then appears on the opposite side while traveling south. That change may reveal where the fish sits relative to the boat and how the sonar cone is intersecting it. If marks remain attached to the bottom through several passes, they may be fish holding tight to the substrate, but they may also be rocks or hard cover. A slight change in speed and direction can help separate moving targets from stationary ones.
Vegetation commonly causes misidentification. A clean grass edge may show as a dark band with small gaps, while fish may appear as brighter spots tucked within or just outside the edge. In timber, branches can produce strong vertical returns. Fish suspended beside the limbs may be visible as separate marks, but fish buried inside the cover may not be distinguishable. A high-detail imaging mode can reveal shape and spacing, while traditional sonar may be better for seeing fish suspended in the water column.
Surface clutter is another frequent problem in shallow water. Waves, aerated water, and an improperly positioned transducer can create a bright band near the top of the screen. Bottom hardness can also mislead anglers who assume every strong return is a fish. Compare the shape, location, and repetition of the mark rather than judging color intensity alone.
Use a simple confidence test before committing time: does the mark occur at a meaningful depth, does nearby structure explain its presence, does it repeat on another pass, and can the boat return accurately to it? A “yes” to several questions raises confidence. A dramatic isolated symbol with no supporting habitat deserves a quick test, not an hour of blind casting.
Turn Sonar Findings Into a Fishing Plan
A productive depth finder routine connects the screen to boat control and lure depth. Begin by idling across likely habitat rather than casting immediately. Watch how the bottom changes, mark key waypoints, and note the depth where bait or fish consistently appear. The goal is not to collect the most marks; it is to identify a fishable pattern that can be repeated.

Boat position determines whether the sonar discovery can be used effectively. If fish are holding on the deep side of a ledge, position the boat far enough away to keep the lure in the target zone without driving directly over it. If fish are on top of a flat, approaching from deeper water may reduce disturbance and gives more room to work a lure across the structure. Wind, current, and boat drift may require an anchor, spot-lock function, drift sock, or repeated passes.
Match the presentation to the depth shown on the screen. A mark at 18 feet is not automatically reachable with a lure running at 10 feet. Count-down sinking lures, vertical jigs, weighted rigs, and deep-diving plugs can reach different portions of the water column, but actual depth varies with line diameter, speed, lure design, and angle. If the lure passes above the marks, changing color may accomplish less than changing weight or retrieve speed.
For example, if bait is concentrated over a 25-foot channel edge and larger marks sit at 15 feet, a suspended presentation may be more appropriate than dragging the bottom. If marks hug a hard bottom at 30 feet, a vertical or bottom-contact approach may keep the lure in the relevant zone longer. These are working hypotheses, not guarantees. Fish can move between passes, and sonar can show an area that was productive minutes earlier but no longer contains active fish.
Save waypoints with useful notes such as depth, direction of travel, wind, and whether the marks were on the ledge or flat. Revisit the location from a different angle and check whether the pattern remains. how to use depth finders to locate fish becomes much more effective when every sonar observation is paired with a boat position and a presentation decision.
Avoid Common Depth Finder Mistakes
The most damaging mistake is treating the fish icon as a verdict. Icons are generated by software and can be wrong when fish are close to cover, moving quickly through the cone, or mixed with bait. Turn them off periodically and practice reading raw returns. That skill remains useful when conditions change or the unit struggles to classify a target.
Another mistake is searching only for large arches. Fish may be suspended, nearly stationary, or positioned outside the strongest part of the cone, producing short marks rather than textbook arches. Conversely, a huge mark can be a thick bottom return or a cluster of bait. The display must be judged by scale, depth, repetition, and habitat.
Running too fast over a target also reduces interpretation. At high speed, returns compress and the boat may pass beyond a small area before the angler understands it. Use speed for broad mapping, then slow down for confirmation. If the image becomes noisy when accelerating, inspect the transducer installation and turbulence before changing every sonar setting.
In summary, do not assume empty screen means empty water. A narrow cone, poor angle, wrong range, or fish tucked into cover can hide targets. Scan from multiple directions and use side-looking imaging where available, while remembering that greater coverage may reduce exact depth certainty. Keep a simple priority order:
- Confirm the bottom depth and contour.
- Identify cover, bait, and repeatable target marks.
- Position the boat so the lure can reach the displayed depth.
- Test the location briefly, then adjust if the evidence does not hold.
The screen should guide decisions, not replace them. When marks, habitat, and lure depth agree, confidence is justified. When they conflict, change one variable at a time so you can learn whether the problem is interpretation, positioning, or presentation.
Authoritative Sources
- Lowrance Fish Finders and Sonar
lowrance.comManufacturer information on sonar technologies, transducer placement, and display functions.
- <a href="https://www.garmin.com/en-US/c/marine/fishfinders-sonar/
Popular Questions
What is a table of contents?
A table of contents is a structured list of the sections or chapters in a document, article, book, or report. It usually displays each heading in the order it appears and may include page numbers or clickable links. A clear table of contents allows readers to preview the material and quickly locate a specific topic.
What should a table of contents include?
A table of contents should include the main sections and important subsections that appear in the document. Use concise headings that accurately describe the content beneath them, and keep the wording consistent throughout the list. Add page numbers for printed documents or links for digital content when those features are available.
How do you create a table of contents?
Start by organizing the document with a logical heading structure, using heading levels consistently from the main title through subsections. In a word processor, apply built-in heading styles and insert the table of contents from the references or insert menu. Review the finished list for missing headings, incorrect page numbers, and broken links before publishing.
Why is a table of contents useful?
A table of contents gives readers a quick overview of how information is organized. It makes long documents easier to navigate and helps readers decide which sections are most relevant to their needs. In digital content, linked entries can take readers directly to selected sections without requiring them to scroll through the entire page.

